
Across North America, beading is one of the-best-known forms of Native artwork. Before European contact, Native Americans used natural materials like wood and stone to create beads. The Europeans brought glass beads to trade, and the Native Americans used them to make jewelry and adorn garments.
“A lot of families are generational beaders, and it’s a way to add a little flair to regalia,” said Citizen Potawatomi Nation Cultural Education Specialist Kristen Wilson. “Some of the generational families incorporate their family color or their family design with each generation so that they can identify their work.”
For those without family beading traditions, Wilson said now is a great time to learn and establish new customs.
Several beading techniques exist, including one and two-needle flat stitch, loom, off-loom and others. She encourages everyone to think happy thoughts while working, regardless of style.
“Whether or not you’re making it for someone else, whatever vibes you’re putting into it while doing something will carry with it,” she said. “Always be mindful of what you’re doing and what vibes you might be sending.”
Learning a traditional craft can provide a sense of peace.
“Beading isn’t a whole lot of stress. It doesn’t take a lot of thought into it once you get the hang of it, so it can also be therapeutic,” she added. “You can get in the mindset and worry just about the beads, not everything else that might be going on.”
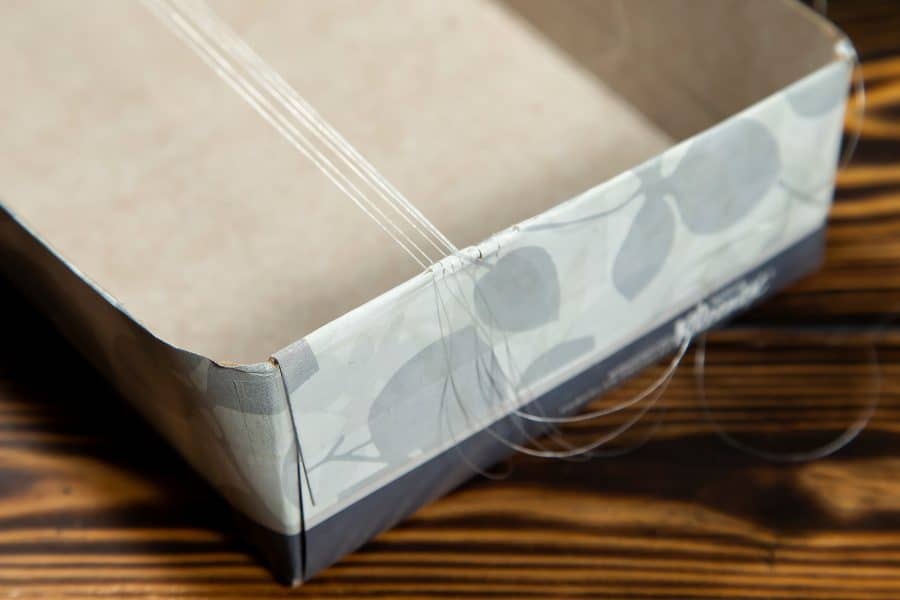
The project featured requires a loom to complete. Purchase one from the Citizen Potawatomi Gift Shop by following this link: cpn.news/giftsloom.
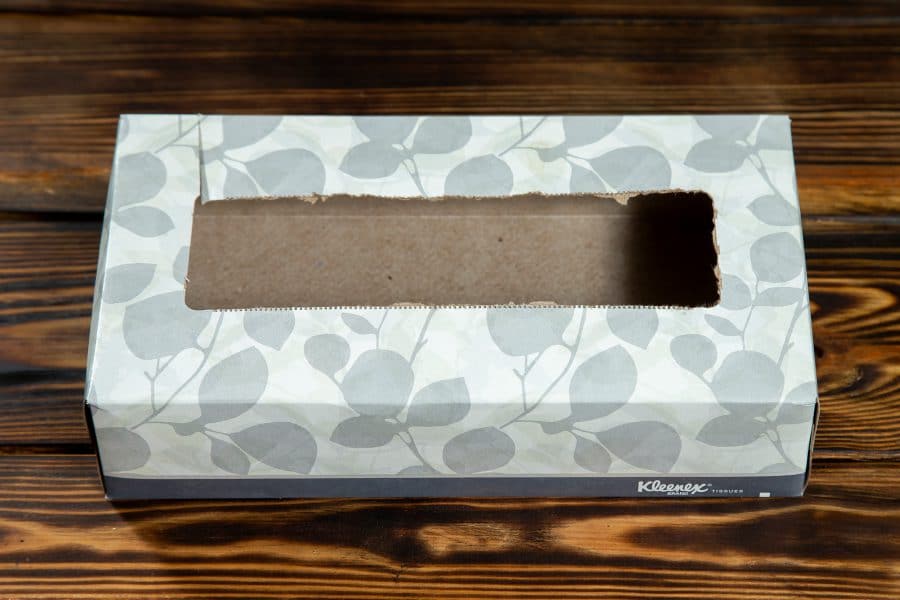
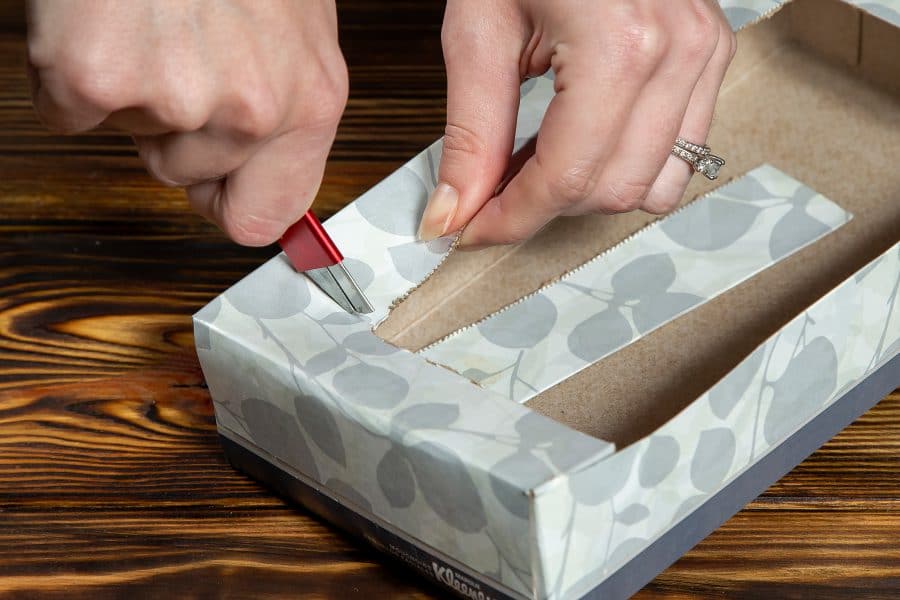
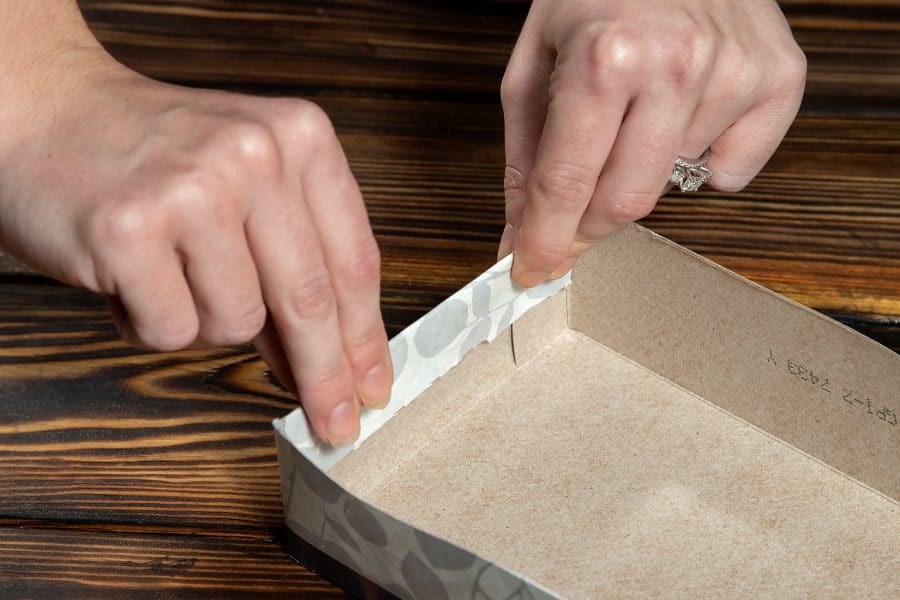
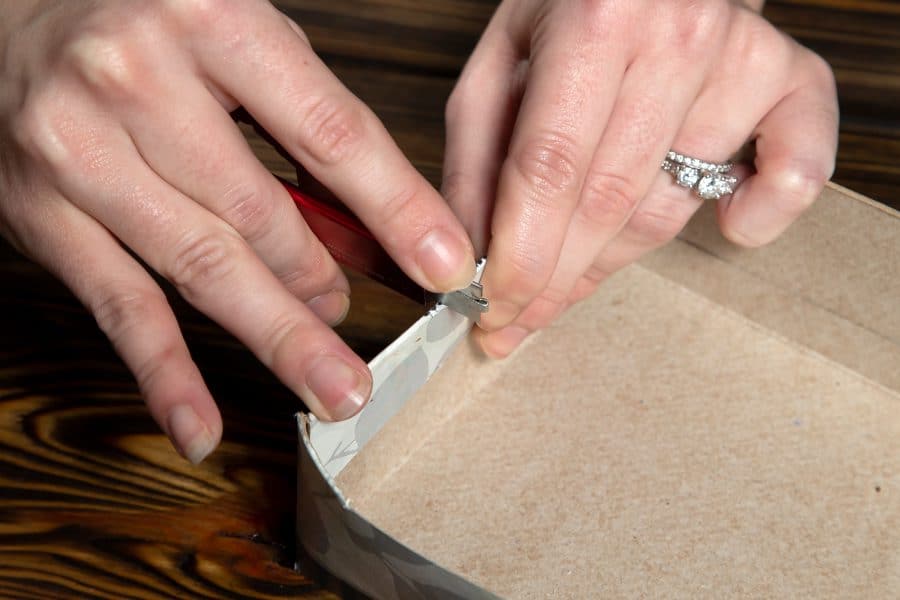
Creating a loom out of a spare tissue box at home is an economical approach that can take less than 15 minutes.
DIY loom materials needed:
1. Tissue box
2. Ruler
3. Knife
After purchasing or making the loom, follow the tutorial below to create a Potawatomi directions-inspired bracelet or hatband. The pattern’s white and red diamonds represent the directions north and south and the yellow and black triangles symbolize the east and west. The Citizen Potawatomi Gift Shop offers a kit for $22, which includes thread, needles, seed beads and the pattern needed to complete the project featured. To purchase the kit, visit cpn.news/fourdirectionskit.
Materials:
1. Bead loom
2. Size A thread
3. Beading needle
4. Seed bead Hanks in red, yellow, white and black (Choose size 10, 11 or 12)
5. Scissors
6. Pattern
Step one: Select design and string loom
When beginning any piece of beadwork, Wilson suggests determining the length and width of the finished project first.

“If it’s small, you might not want a very long pattern — you might want something that’s a bit smaller and easier,” Wilson explained. “If it’s long, like a hatband, you may want a pattern that’s a little longer.”
For those who did not purchase a kit through the Citizen Potawatomi Gift Shop, find a PDF version of the four directions inspired pattern here: cpn.news/fourdirectionskit. To make a longer piece, repeat the pattern until it reaches the desired length.
“After figuring out what size and what the project will be used for, you’re ready to start stringing the loom,” Wilson said.
Wilson uses size A string. When threading a loom, it is important to keep the strings tight. Stringing the loom too loosely makes beading difficult.
The four directions inspired pattern calls for 10 threads, but Wilson recommends doubling the exterior strings.
“Doing that helps stabilize the outside, which can get more wear and tear than the middle. I just do one string for each of the middle and two on the outside,” she explained.
If using the tissue box loom, tape can provide additional support to hold the tension.
Step two: Thread the needle
Once the loom is ready, string the beading needle. Wilson said it is important keep the string at a manageable length to avoid tangles and unwanted knots. She recommends using long beading needles, but any beading needle will work.
“The longer needle is usually long enough to lay across the strings instead of having to thread it all the way through. I just leave the beads on the needle,” Wilson said. “To me, it’s easier that way because you don’t have the flimsiness of the beads being on the thread.”
Step three: Start beading
Wilson recommends size 10 to 12 seed beads. To begin, she places the pattern’s colors for each line on the needle. For the Potawatomi directions inspired pattern, the first line requires nine white seed beads.
“When I go through, I normally go underneath the strings and bead from the right to the left. Then I push my beads up with my finger, and pull it back through on top,” Wilson said. “As long as you pull your string tight, then that keeps the beads from moving.”
The main thing to keep in mind, whether threading through the bottom or the top of the beads first, is ensuring the beads lie flat on each line.
With most projects, the needle will eventually need to be restrung, “but before I run completely out of string, I go back through the lines that look a little lose and try to tidy them up and make them more stable,” Wilson said. She then hides a knot within the beadwork and restrings her needle to start again.
Step four: Finish
Once the project is to the desired length, she recommends cutting the strings off the loom.
“After cutting the string, tie the ends together and alternate the strings after each knot like macramé,” Wilson said.
Some use either leather or metal clasps to cover the ends; ultimately, it’s up to the individual creating the piece on which method to use.
The Citizen Potawatomi Gift Shop offers all the supplies needed to get started as well as the kit for the project featured in this article. Shop now by following this link: giftshop.potawatomi.org/shop/supplies.
The Cultural Heritage Center also offers in person craft classes. Visit potawatomi.org/events for details.