
With Festival on the horizon, having traditional Potawatomi dress and regalia are an important facet of participating in ceremonies like Grand Entry and dancing. One piece of this regalia is the fan, which in addition to being a nice addition to Potawatomi clothing, comes in handy in the warm June weather.
Here’s what you need to make one, and how to do it:
- Eagle, goose or turkey feathers from either a tail or wing
- Wood glue
- A handle (Fan handles can be purchased at the FireLake Gift Shop inside the Cultural Heritage Center)

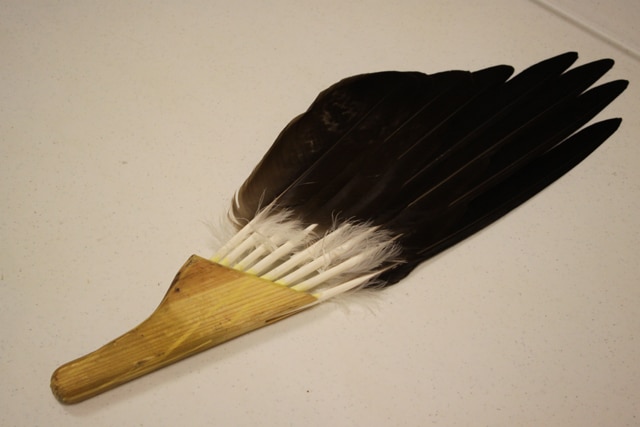
Step 1 – Layout the feathers on a table to get an idea how they should look when assembled. Start with a spiked feather (a feather with a pointed end) and layer the others behind it. Try lining the feathers up from tallest to shortest to give it some shape.
Step 2 – With scissors, trim the bottom of the feathers so they fit snugly in the handle. Feather bases may be rotund and rounded, and you should cut them so as to make them flush with the handle.

Step 3 – Cover the bottom of the trimmed feather with wood glue. Apply the glue to the gap in the handle where the feather base rests as well, then place the feather in the order you chose earlier. Remember, start with the spiked feather.
Step 4 – Let the first glued feather set until it is dried completely, usually taking about 30 minutes. Once set, repeat the same process with the other feathers in the order you laid out.
Step 5 – Once the feathers bases are set, go through the top of the feathers to make sure they are flush with one another. Each individual feather will last longer if they all remain close together as a unit when being waved.
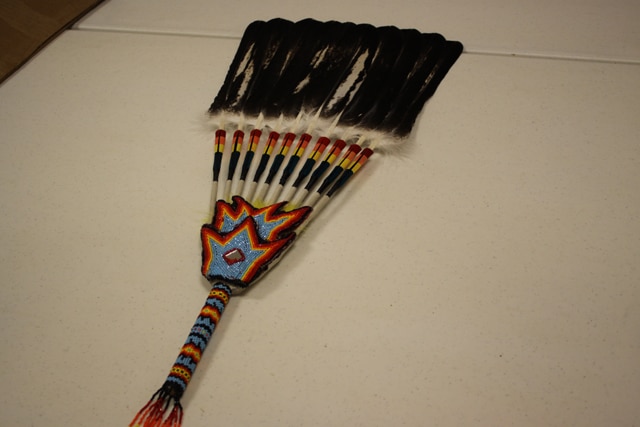
Step 6 – Once you’ve completed the structural part of the fan, you can decorate it with bead work, paint or other feathers.